Customers
Each time a new customer (with a new email) makes a booking on your website or you add a new customer via the admin dashboard, their profile is automatically created and saved in the Customers section.
Creating Customers
ZimSaas simplifies the booking process with front-end booking. Customers can visit your booking website, select a service, and make an appointment. This process automatically adds customers to the Customers section in the admin dashboard. You can also create customers manually for added flexibility.
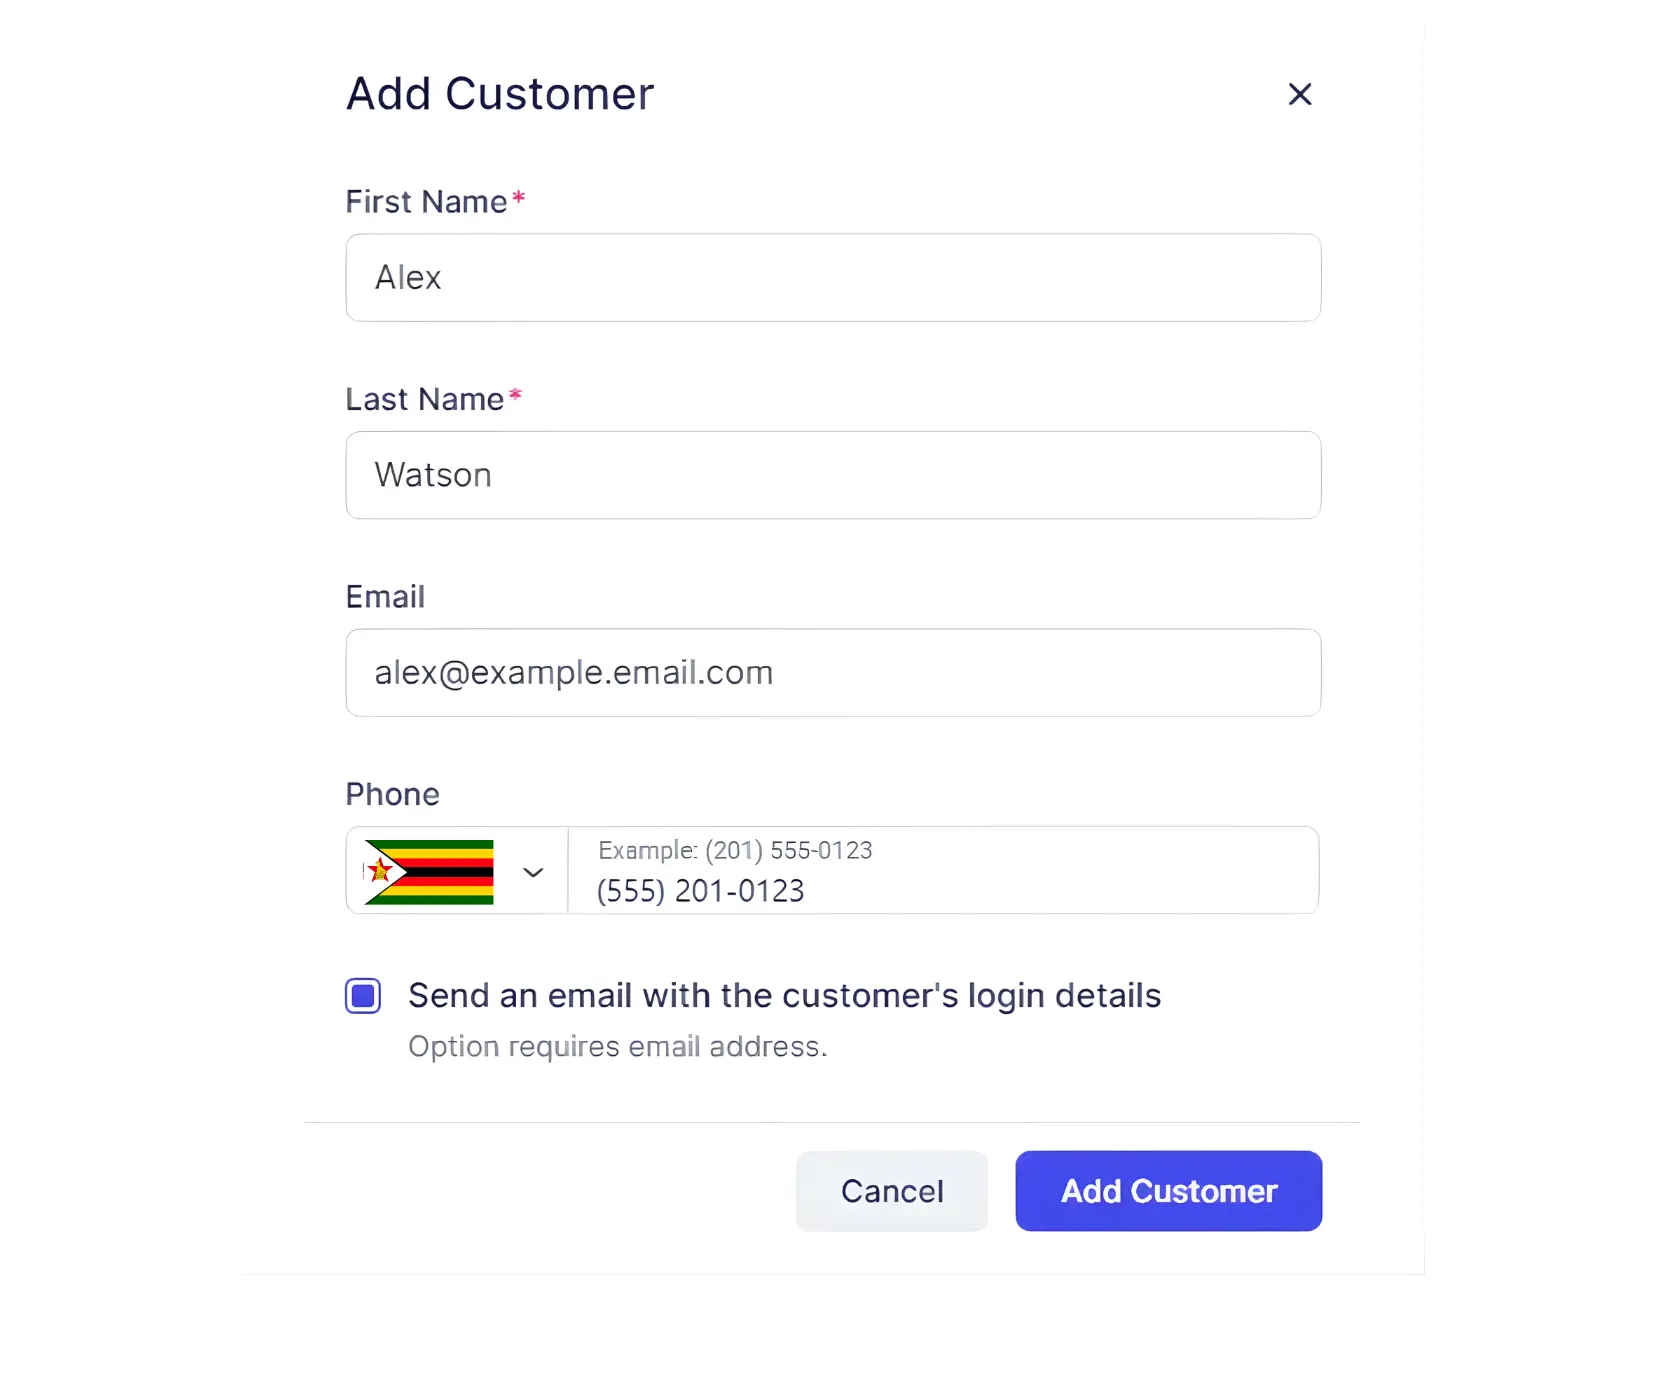
To create your first customer, click the + Add Customer button. A popup opens where you enter:
- First Name / Last Name: Required. Used to create the customer profile.
- Email: Required. Used for login and notifications. Each email must be unique. If you see a warning that the email is already in use, check existing users.
- Phone Number: Optional. The default phone country code from General Settings is shown; you can change it by clicking the country flag. Customers can also enter their phone during booking.
- Send an Email with Login Details: When checked, this triggers the “Login Link” email template so the customer can set their password.
After entering the details, click Add Customer. If successful, you can choose:
- Go to Customer: Open the customer profile immediately.
- Close: Return to the Customers section.
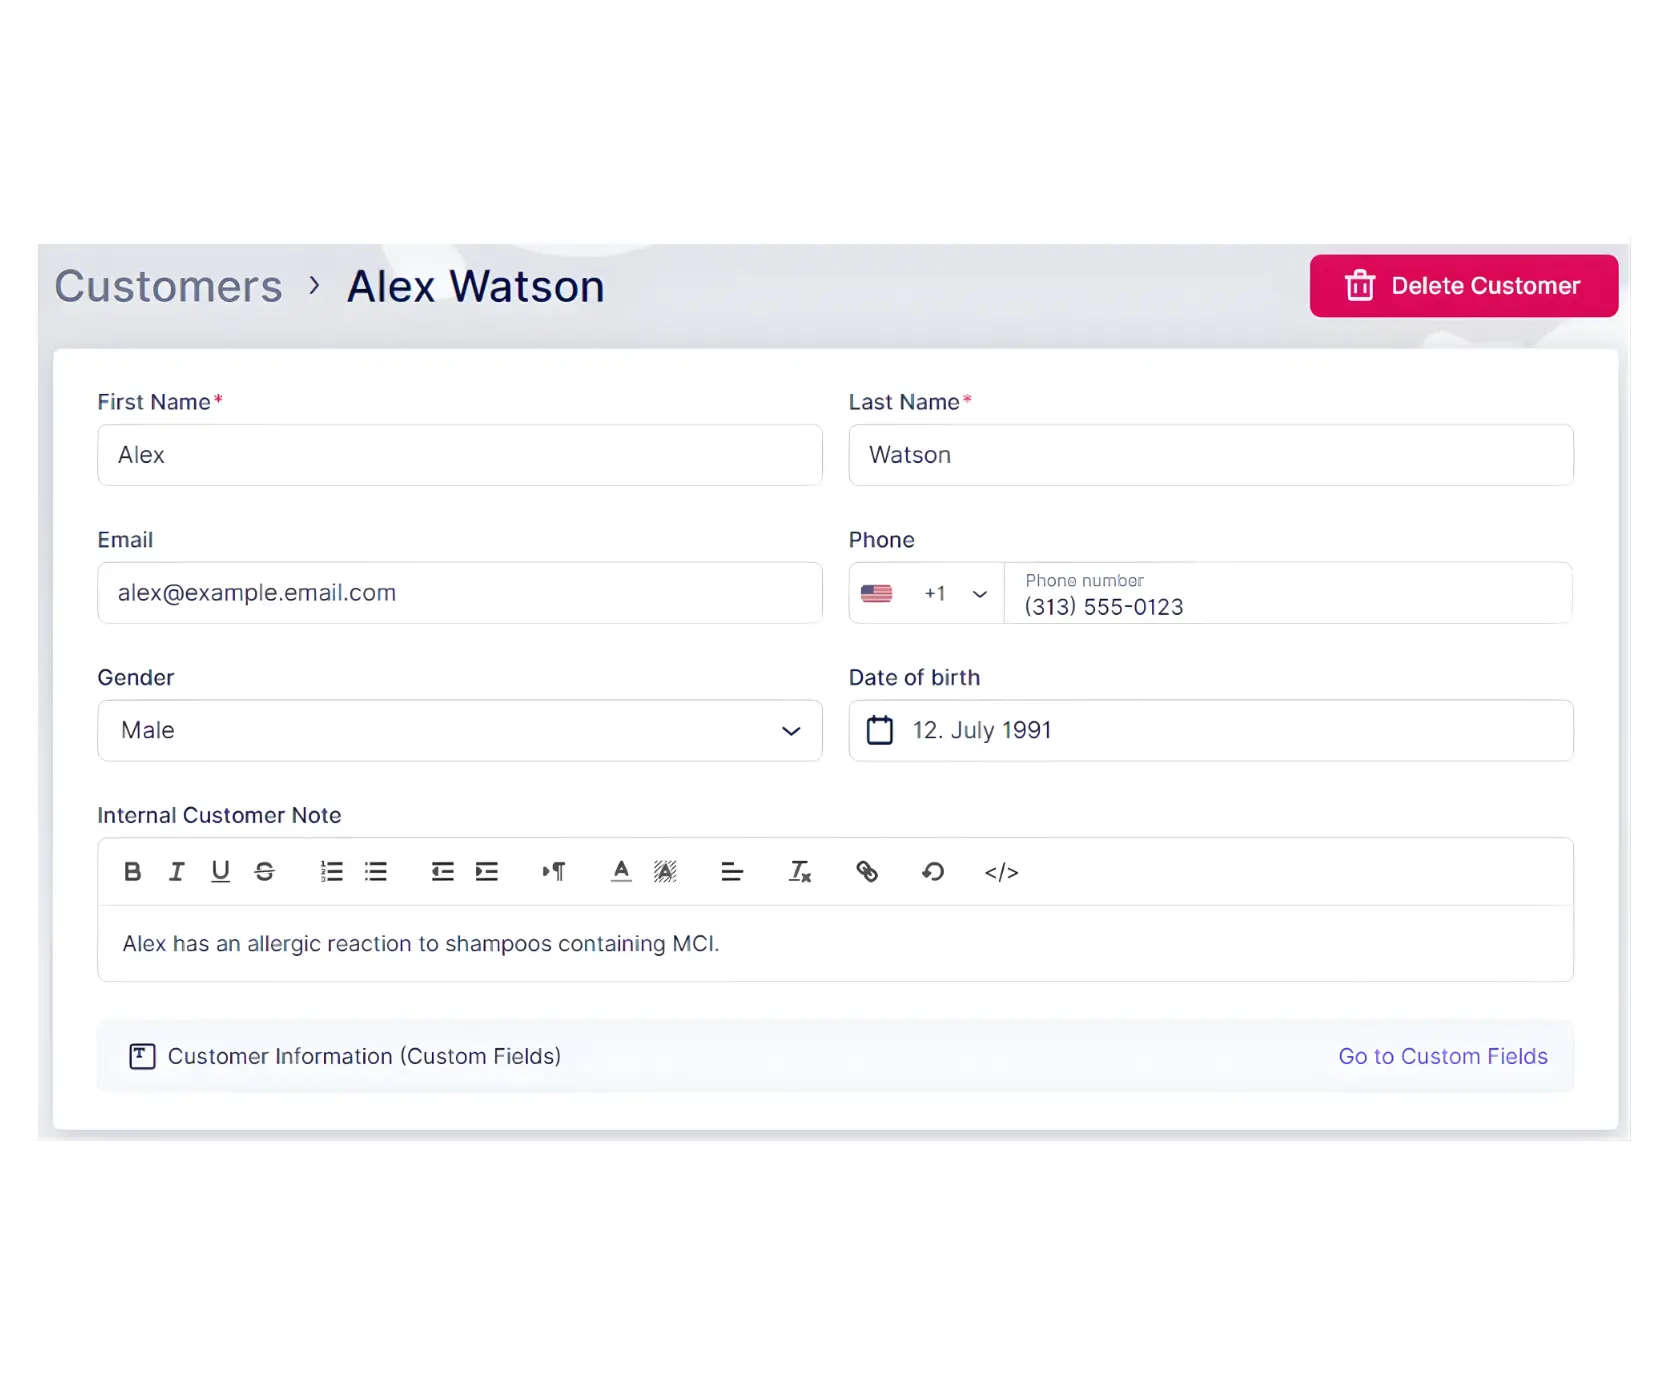
Choosing Go to Customer opens the profile page, where you can add:
- Gender: Specify the customer’s gender.
- Date of Birth: Enter the customer’s date of birth.
- Customer Notes: Internal only. Add notes such as allergies, preferences, or other information. Not visible to the customer.
Below these fields is the Customer-related Custom Fields section. If you have added custom fields, they appear in the dropdown after expanding. If not, click Go to Custom Fields to create and add Customer-Related Custom Fields.
Click Save Changes to store the customer’s details and show them in the list.
Import and Export
In the Customers section, use Import Data to bring in an existing customer list. Your CSV file should follow these rules:
- Exclude the first row (column titles).
- Use separate columns for First Name and Last Name.
- Match the date of birth format to your General Settings.
- Include phone numbers with ”+” and country code.
- Use “Male” or “Female” for the Gender column.
When uploading, map your CSV columns to ZimSaas columns. Only import columns that exist in ZimSaas customer information. Use Don’t import for columns you want to skip.
Important:
- Each field should be mapped only once and match a column in your file.
- Mandatory fields in ZimSaas (First Name, Last Name, Email, or Phone depending on settings) must be mapped.
- If emails in your CSV match existing customers, you will be asked whether to override or skip those rows.
Use Export Data to export customer data. You can choose the CSV delimiter (comma or semicolon) and which columns to export. By default, all columns are included.
Working With the Customers List
The customers list shows:
- Full names
- Emails
- Total number of booked appointments
- Date of last appointment
- Date when the customer was created
This helps you identify long-term customers and those with the most appointments.
Actions:
- Bulk Delete: Select customers with checkboxes and use Delete above the list. You can select all with one checkbox. A confirmation appears before deletion; related bookings are also deleted.
- Search: Find customers by first name, last name, or email.
- Single Actions: Use the three-dots menu next to each customer to Edit or Delete.
Customer Details Sidebar:
When you select a customer, a sidebar shows:
- Most Appointments With: The three employees the customer books with most often.
- Favorite Services: The customer’s top three services from past bookings.
- Payments Total: Total amount paid. Click View All Payments to go to the Finance page with that customer’s payments filtered.
Three-Dots Menu:
- Edit or Delete the customer
- Enable or disable Login
- Block the customer
Block Customer
If a customer is causing issues or spamming with fake bookings, you can block them from making further bookings.
The customer must have a phone number or email on their profile. Making email and/or phone mandatory in your settings helps ensure this.
Steps to Block a Customer
- Go to the Customers section.
- Find the customer and click the three-dots menu.
- Select Block Customer.
- Confirm in the popup by clicking Block.
Unblock a Customer
- Click the three-dots menu for the blocked customer.
- Select Unblock Customer.
Identifying Blocked Customers
Blocked customers in the list:
- Appear grayed out.
- Have their profile image replaced with a crossed-out symbol.
Experience for Blocked Customers
- Booking attempt: ZimSaas saves cookies to prevent booking attempts with another email.
- Login attempt: They see: “Sorry, logging into your account is currently unavailable. Please try again later.”
- Booking as guest: If they click Book Now as a guest, they see: “Apologies, booking is currently unavailable. Please try again later.”
Customer Panel
If you have configured Only Registered Users or Both registered and guest users for booking, your Booking Website shows a Log In button in the top right.
This gives customers access to the Customer Panel, where they can:
- View existing bookings
- Access appointment details
- Reschedule or cancel appointments
- Manage profile settings
- Update profile details or change passwords
For more on the Customer Panel and login options, see Booking Website.
Related Topics
- General Settings – Default phone country code
- Booking Website – Customer Panel and login options
- Configuring Services – Services customers can book
Need help?
Chat with our team on WhatsApp for setup guidance and troubleshooting.
Open WhatsApp support